This guide is to help you record on YouTube TV with Roku.
If you’re looking to start recording your favorite shows or movies on Youtube TV, Roku is a great way to go. Here’s how to do it!
In short, you must add the program to your library, and the YouTubeTV app will take care of the recording.
This guide exclusively applies to recording on a Roku-based smart TV using a remote. A link to a video guide is given at the end. We’ve divided it into the following three parts:
- Adding a program to the library
- Checking the library collection
- Removing a program from the library
Part 1: Adding a Program to the Library
Part 1 is to guide you through adding a program to the library which you would like to mark for recording, perhaps so that you can watch it later at your convenience.
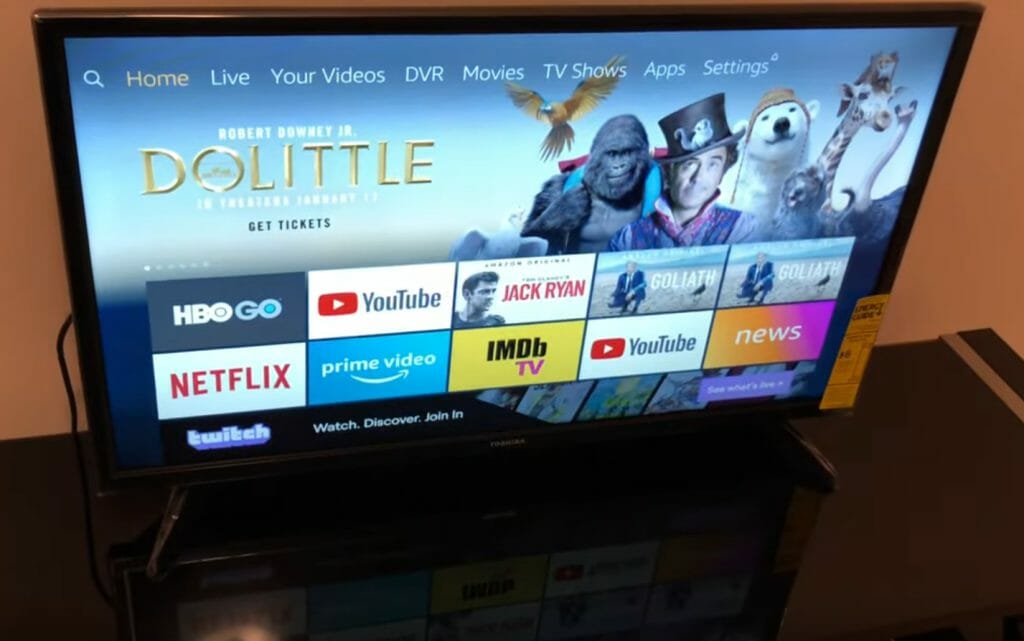
Step 1: Locate the YouTubeTV App
You will first need to locate or search for the YouTubeTV app from the Roku home screen. If you use it frequently, it should appear on the home screen. Note that this is separate from the YouTube player. It is not yet shown in the screenshot of the homepage below.
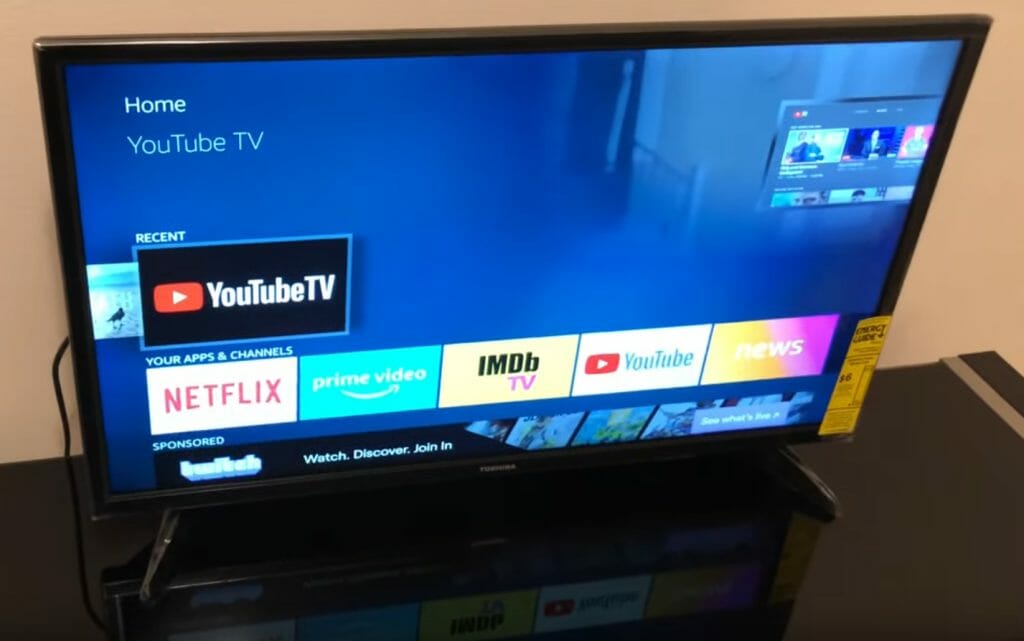
Step 2: Open the YouTubeTV App
The YouTubeTV app shown here has the YouTube logo on a black background, whereas the YouTube player app has a white background. The YouTubeTV app is the one you want. Open it.
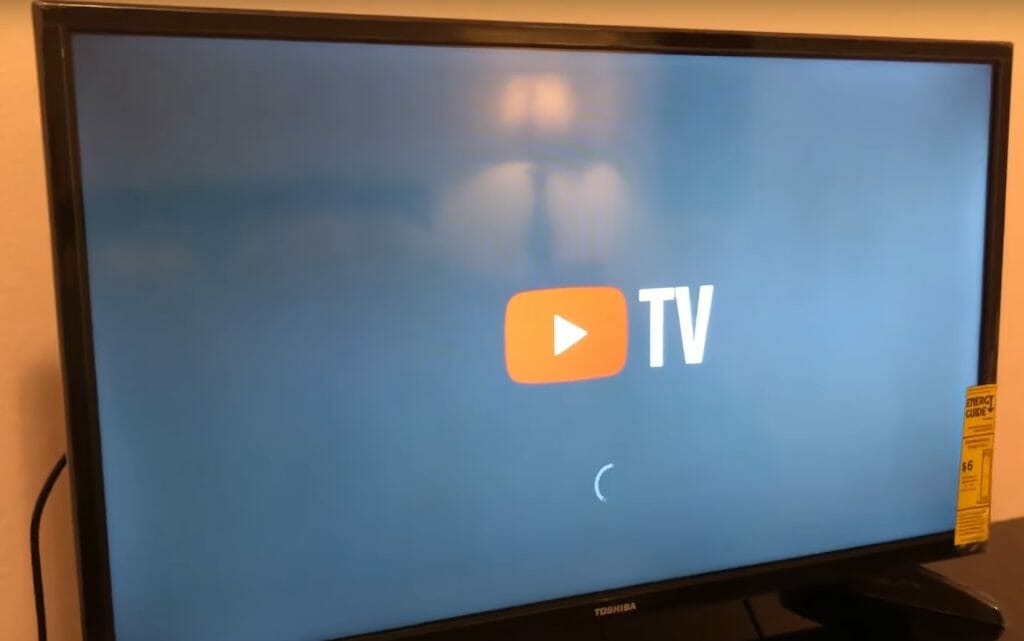
Step 3: Wait for the YouTubeTV App to Load
You will know you opened the right YouTube app by seeing the following splash screen while it loads:
Step 4: Select the Live Option
Once the YouTubeTV app has loaded, you will see its homepage open, as in the sample screenshot below.
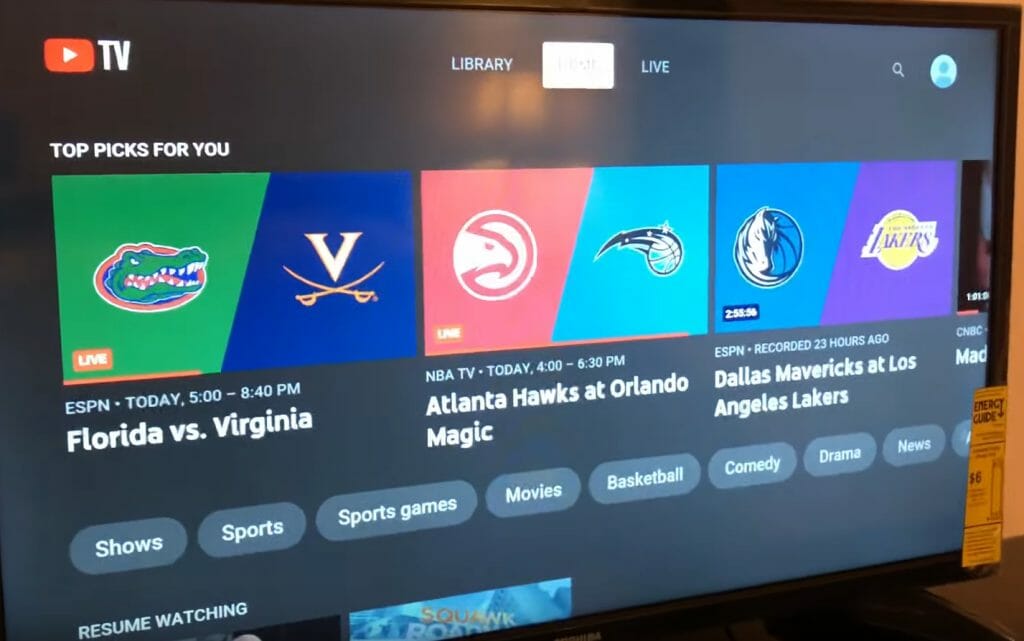
From the YouTubeTV app homepage, select the LIVE option. It should be the one on the right where you see the following three main options: Library, Home, and Live.

Step 5: Select the Program to Record
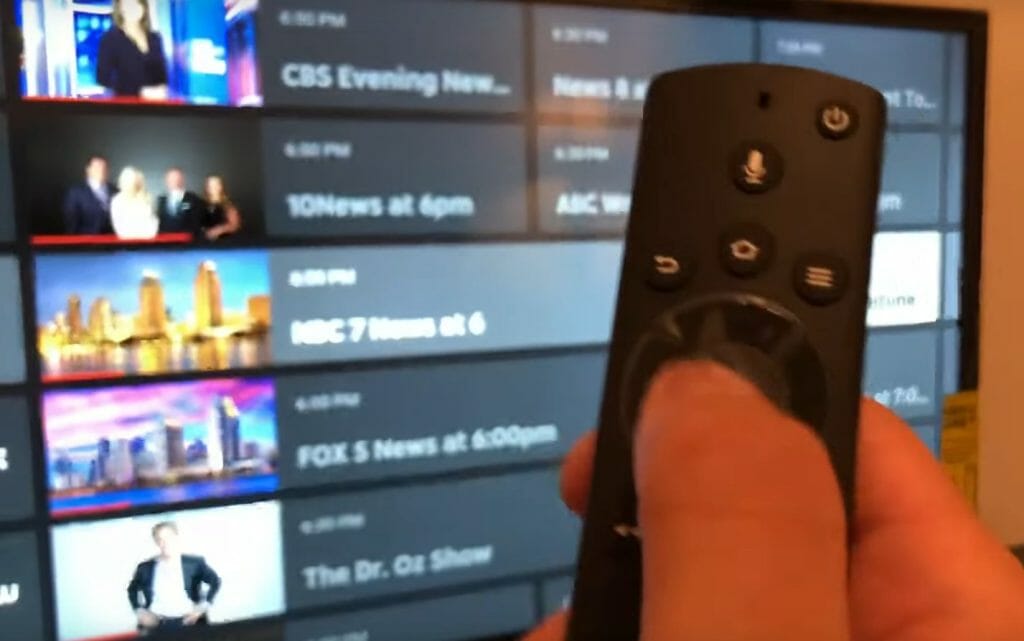
Under the live section of the YouTubeTV app’s homepage, you will see a list of available live programs and shows. You can either select one from those shown or search for the one you want to record if it’s not shown already. Select the program you want to record, then press the middle button on the Roku remote.
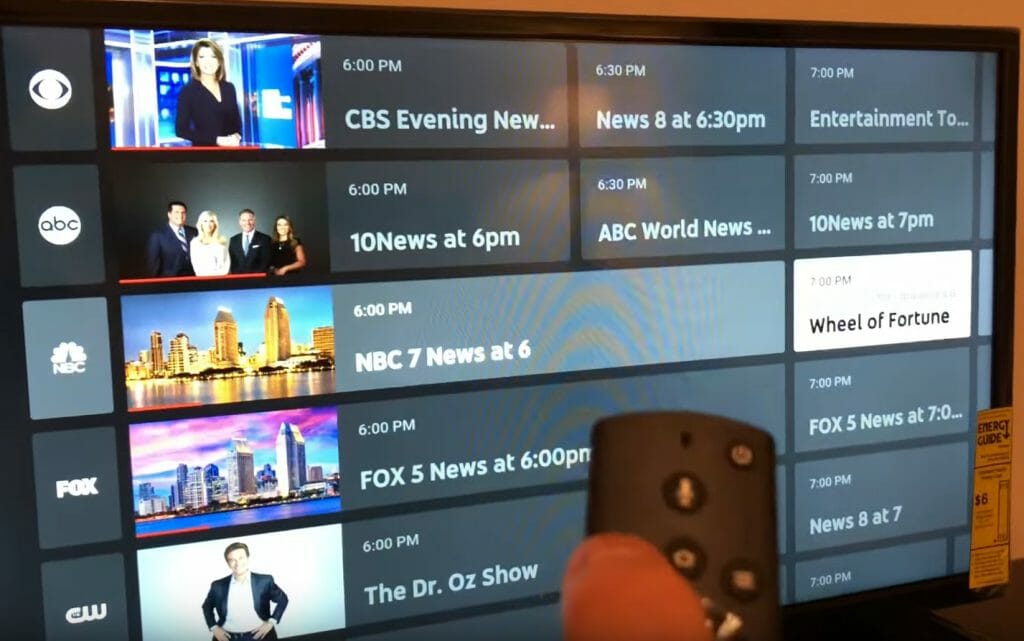
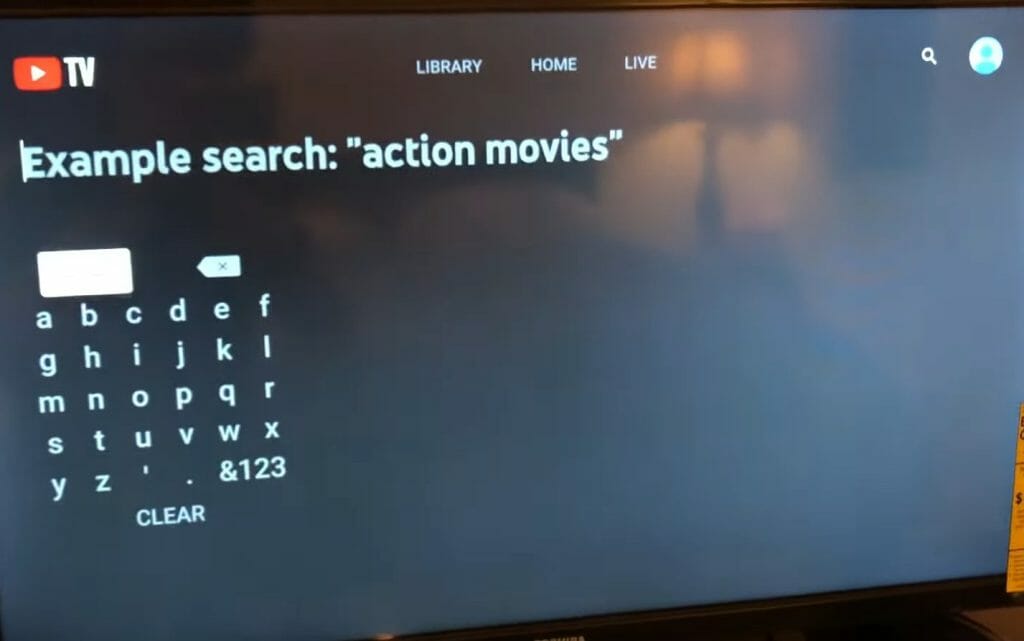
Alternatively, if you cannot find the live show or program, you can search for it after clicking on the search tool near the top right of your screen, as shown in the screenshot below.
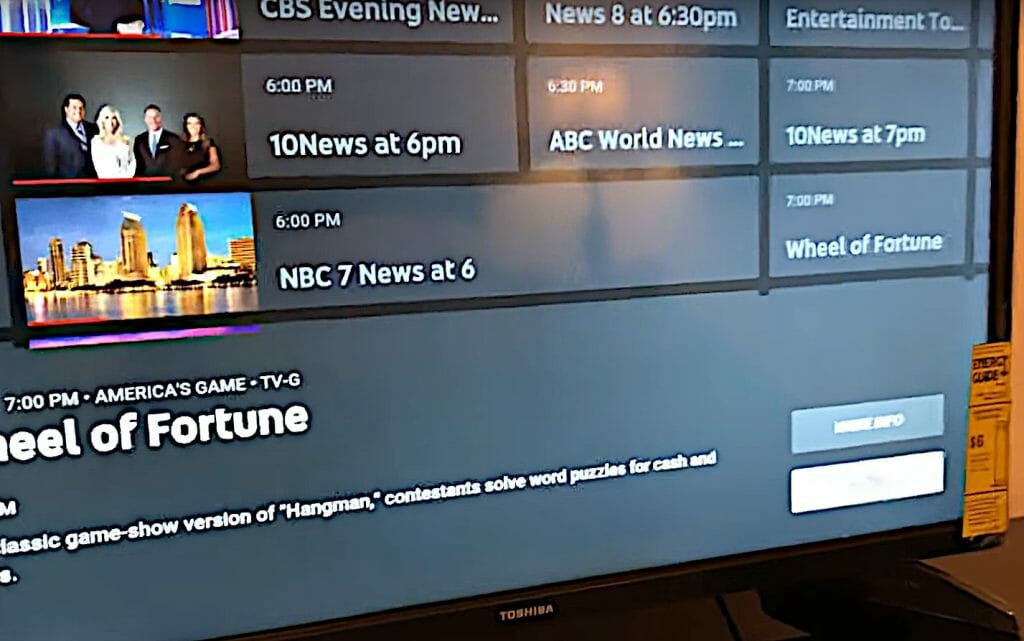
Step 6: Click on More Info
After selecting the program, you want to record, click on MORE INFO near the bottom right of the screen.
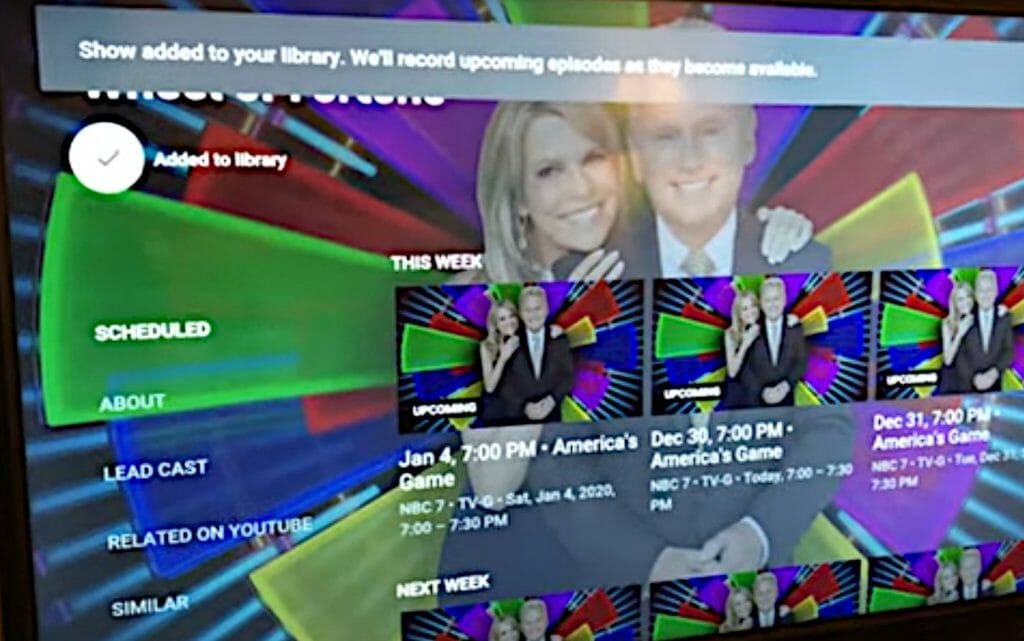
Step 7: Select Add to Library
On the MORE INFO screen relating to the program, you want to record, click on the plus sign near where it says ADD TO LIBRARY near the top left. This will add the program to your library for recording.

When the program is added to the library, the message bar at the top will now read:
| Show added to your library. We’ll record upcoming episodes as they become available. |
This is confirmation that the program you selected will now be recorded. Note that it will replace or over-record any earlier recordings you made on the hard disk, depending on its spare capacity.
Part 2: Checking the Library Collection
Part 2 is to guide you through checking your library collection for the programs you have marked for recording. You might want to do this to confirm that it will be recorded or to check its schedule.
Step 1: Go Back
If you are following part 2 after completing part 1, click the back button twice to go back to the second last screen (the main YouTubeTV app home screen), where you will see the three main options again at the top for LIBRARY, HOME, and LIVE.
You should see a similar screen to the sample screenshot shown earlier in PART 1, STEP 4.
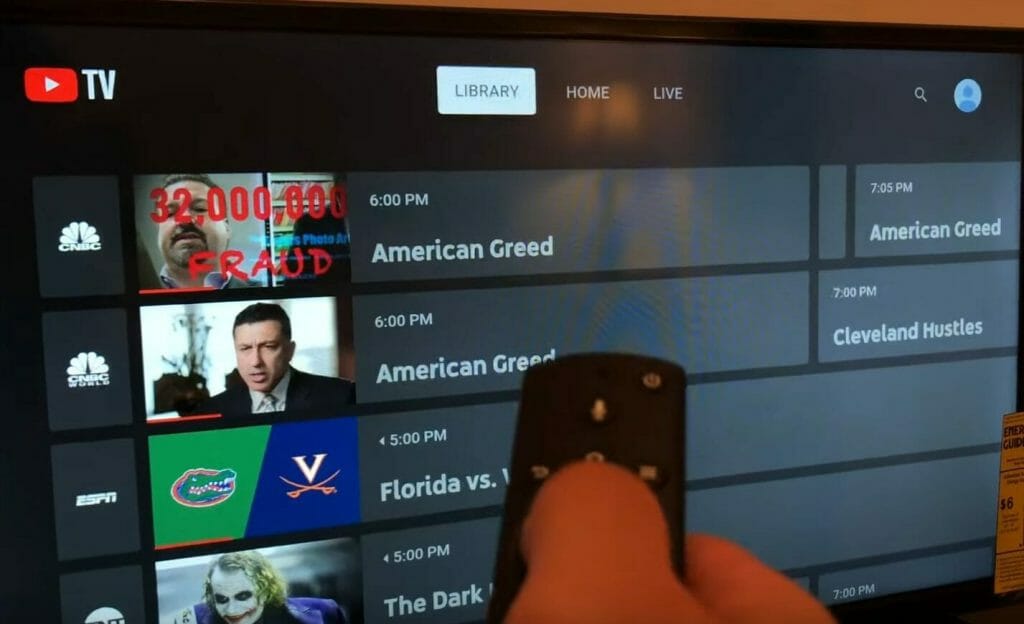
Step 2: Select the Library Option
Go to the library by selecting the LIBRARY option. The newly added program will not be shown here until a recording is made, but you will see it under SCHEDULED.
Step 3: Check the Scheduled Recordings
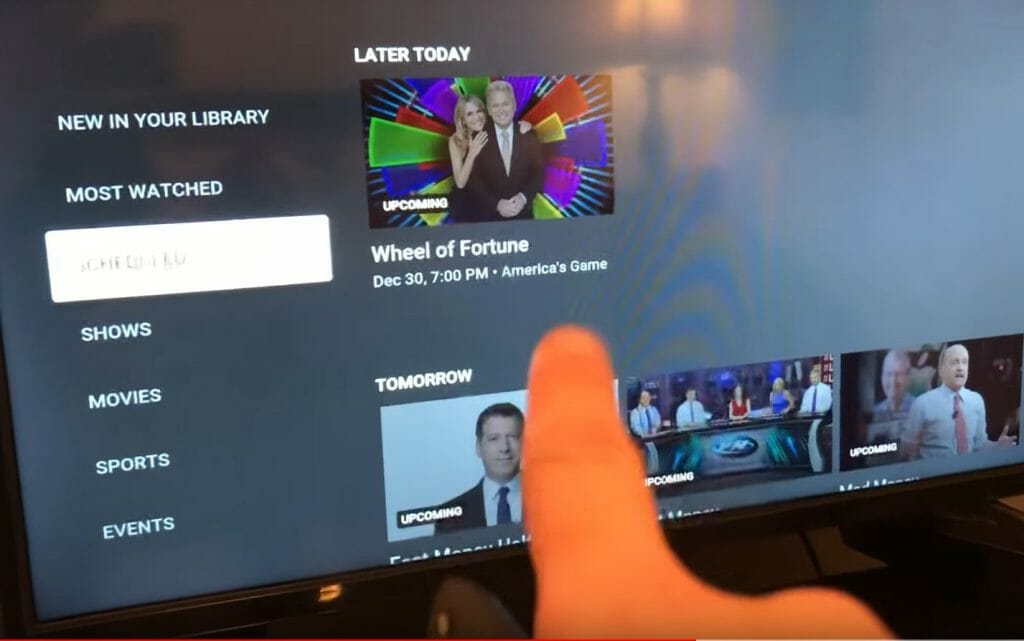
See under SCHEDULE to see what programs have been scheduled for recording.
In the sample screenshot below, the program you selected to record has been scheduled for recording at 7 pm on December 30. Once recorded, it will appear under NEW IN YOUR LIBRARY.
Part 3: Removing a Program from the Library
Part 3 guides you to remove a program from the library you earlier marked for recording because you no longer want to record it.
Step 1: Click on ‘More Info’ on the Program’s Main Screen
To remove a program from the library, go back to the program’s main screen, and click on MORE INFO again, as was shown in the sample screenshot for PART 1, STEP 6.
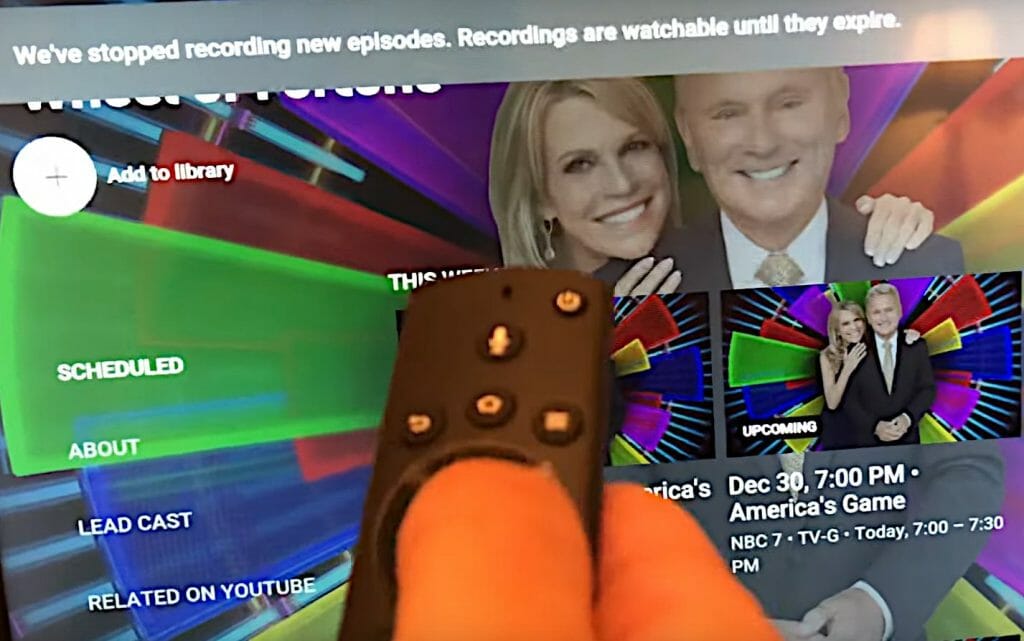
Step 2: Click on the Minus Sign
Then click on the minus sign next to ADDED TO LIBRARY near the top left, so it reverts to ADD TO LIBRARY. The message bar at the top will now read:
| We’ve stopped recording new episodes. Recordings are watchable until they expire. |
The recordings that have already been made will remain watchable until they are over-recorded by another recording.
Take a look at some of our related articles below.
Video Reference
Colorado St
