
In this article, you’ll learn how to record on the Spectrum TV app with a smart TV or smartphone.
Recording Spectrum TV shows can be confusing whether you use a smart TV or smartphone. There are several different options for recording, and you should have a good understanding of them. For instance, you can record the entire season or only the new episodes. Or you can schedule a recording. So, here’s a complete guide for all the recording methods and options available on the Spectrum TV app.
In general, to record on the Spectrum TV app:
On a Smart TV:
- Turn ON the smart TV and launch the Spectrum TV app.
- Push the UP button on your remote.
- Select the RECORD icon on the smart TV.
- Set the preferred parameters.
- Select the RECORD icon again.
On a Smartphone:
- Launch the Spectrum TV app on your mobile device.
- Tap on the options icon (three lines).
- Tap on the Guide button.
- Navigate and open the episode or the show you want to record.
- Tap on More Options and record the episode/show.
Read the below article for a detailed explanation.
Before We Start
I’m planning to break the below how-to guide into two parts. As you can understand, you can use the Spectrum TV app on a smart TV or smartphone. So, learning how to record on each device will come in handy.
Recording on the Spectrum TV App Using a Smart TV
Step 1 – Turn ON the TV and Launch the App
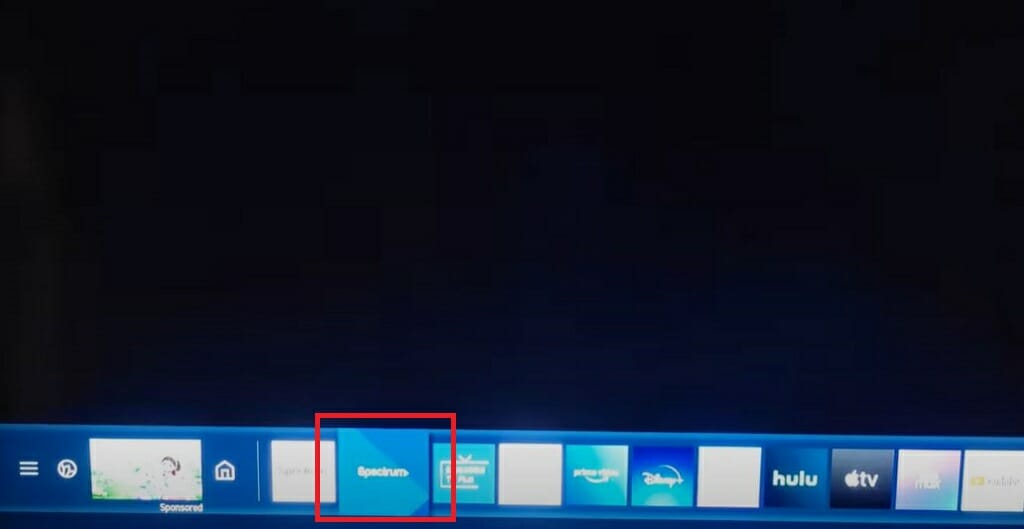
First and foremost, turn ON the smart TV. Then, launch the Spectrum app.
Quick Tip: If you plan to use a smart TV to watch the Spectrum TV, the Samsung smart TV is the best option.
Step 2 – Push the UP Button

Wait until the TV loads images and push the UP button on the smart TV remote. This will open up the info tab with four different buttons.
Step 3 – Select the Record Option

Select the RECORD option using the smart TV remote. Or press the Record button on the Spectrum remote.
Step 4 – Set the Parameters
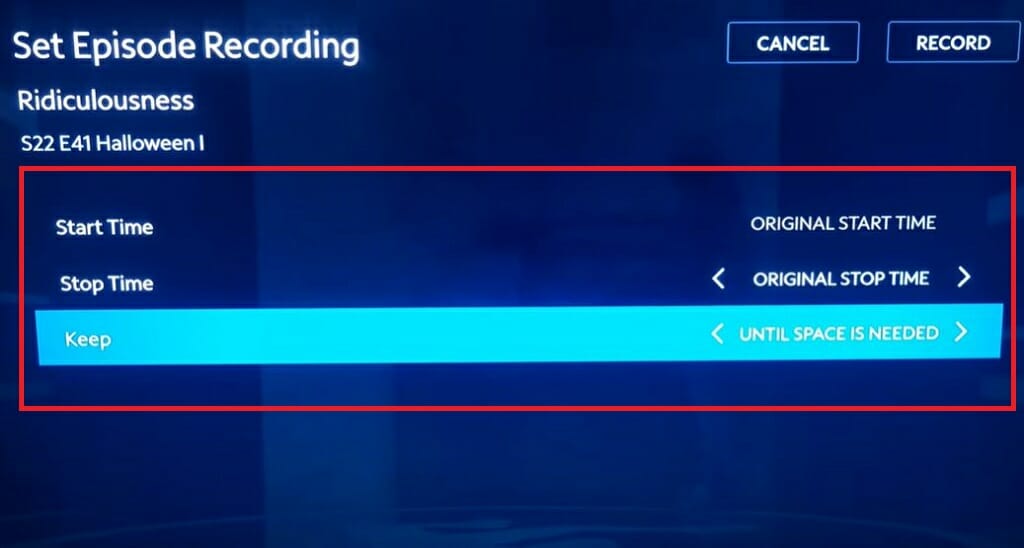
You can set the preferred parameters for your recording on the next popup screen. Here are the three options available.
- Start Time: Recording starting time. Set it to the original start time.
- Stop Time: Recording stopping time. Set it to the original stop time.
- Keep: With this option, you can change the period you want to keep the recorded show.
Quick Tip: You can change the above options according to your needs. For instance, you can set the start time to 10 minutes from the original starting time.
Step 5 – Hit the Record Button Again
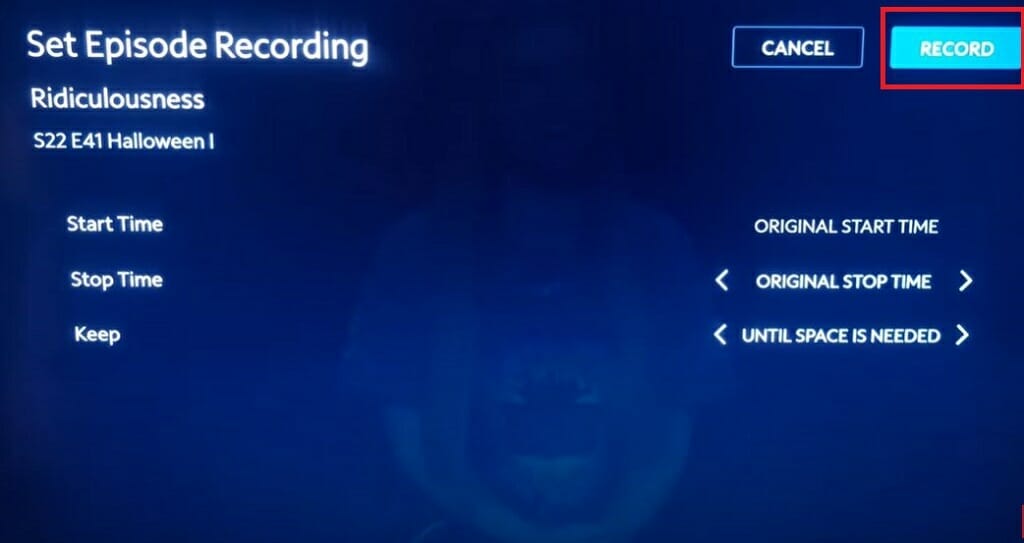
Finally, hit the RECORD button located at the top right corner.
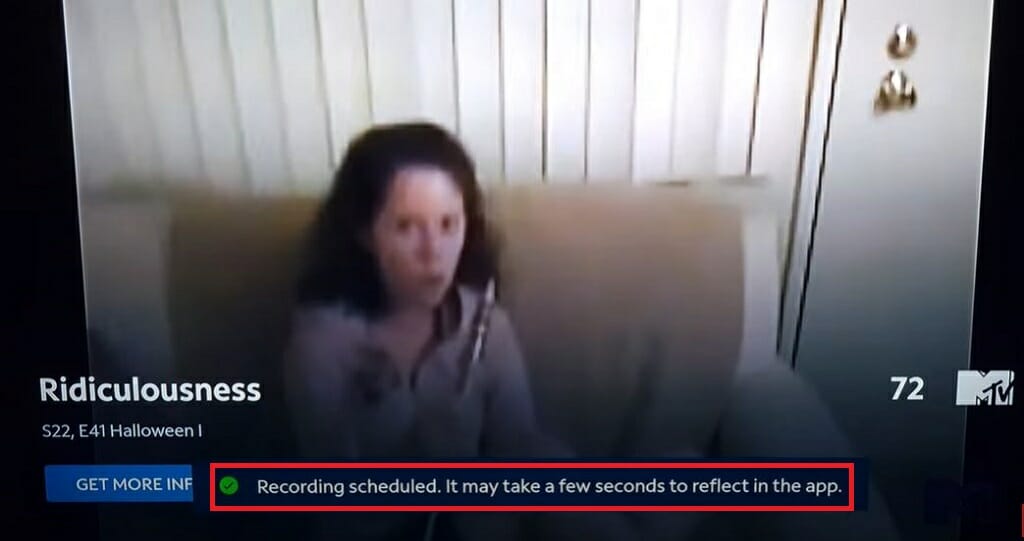
The Spectrum TV app will record the show on the cloud DVR storage.
Spectrum Cloud DVR Service
If you need to record Spectrum TV shows, you should subscribe to the Spectrum cloud DVR service. This is a monthly subscription service that provides you with cloud storage. There are two plans for this service.
| Plan | Number of Shows | Price |
| Cloud DVR | Can record up to 50 shows | $4.99/month |
| Cloud DVR Plus | Can record up to 100 shows | $9.99/month |
In the Cloud DVR plan, you can keep 50 shows for 90 days. And in the Cloud DVR Plus plan, you can keep 100 shows for 365 days. Therefore, without a doubt, the Cloud DVR Plus plan is the best option.
Important: These two plans can be used with Samsung smart TVs, Android, iOS, Roku, Xbox One, and other Spectrum TV app-supported services.
Recording on Spectrum TV App Using a Smartphone
Step 1 – Launch the App

First, launch the Spectrum app using your smartphone. If you haven’t downloaded the Spectrum TV app yet, download it from the Google Play Store or the App Store.
Step 2 – Tap the Option Button

There should be three horizontal lines at the top left corner of the Spectrum TV app. That is the options button. Tap it to inspect the available options.
Step 3 – Tap the Guide Button
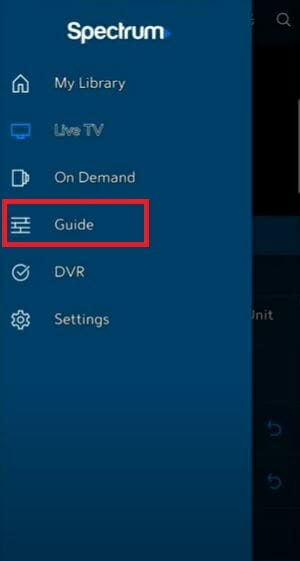
After tapping the options button, a list will come up with various options. Tap on the Guide. This will open up a list of available channels and shows.
Step 4 – Open the Desired Show
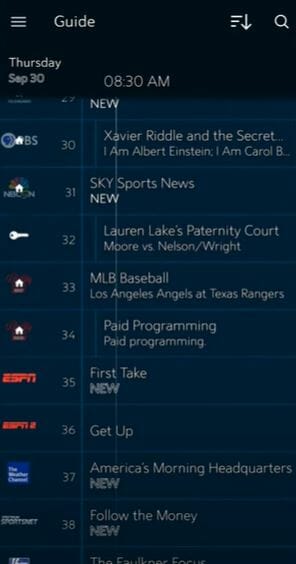
Then, navigate the program list and open the desired show you want to record.
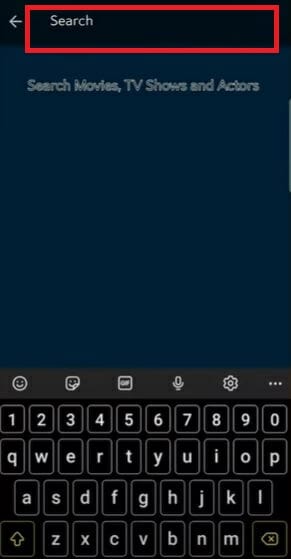
Or type the show’s name into the search bar at the screen’s top right corner.
Step 5 – Tap More Options and Record

Now, tap More Options and choose the desired option. There are two options here; Record and Record Series.
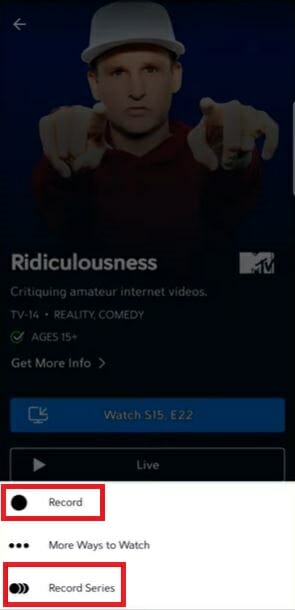
Tap on the Record option to record only the selected episode. Tap the Record Series to record the entire series.
How to Find the Recorded Shows?
Now you know how to record on the Spectrum app. But do you know how to find the recorded content?
Well, finding recorded content is relatively easy. Follow these steps.
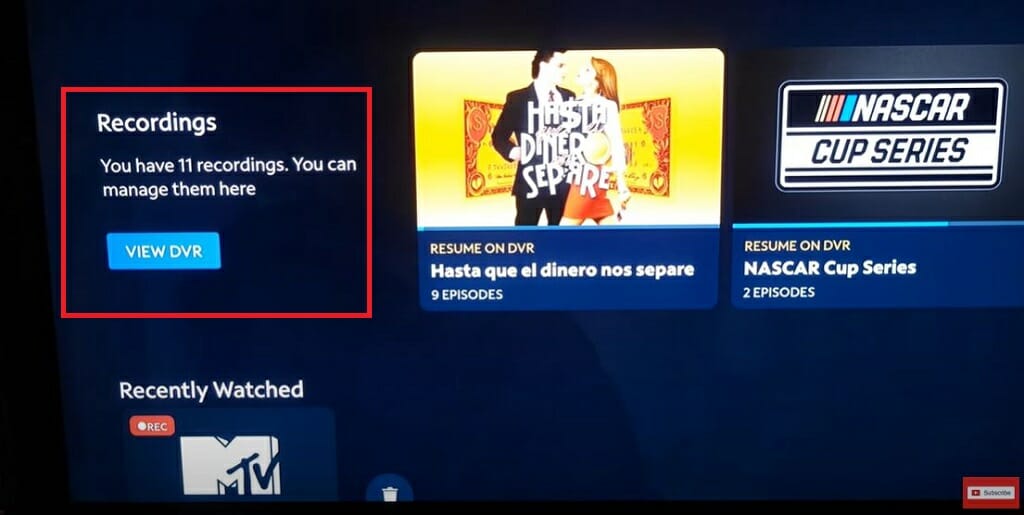
- Go to the Menu option using the TV remote (push the feedback key).
- Click on the ‘My Library’ option.
- Select the ‘MY DVR’ option.
- Select the desired recording from the list.
Quick Tip: You can pause the recording by pressing the Pause button on the TV or the Spectrum remote.
Schedule Recordings
Even though Spectrum TV recording options are great, you might not be at your home every time. If that is the case, you might have to set a scheduled time for the recording. So, here are a few simple steps for that.
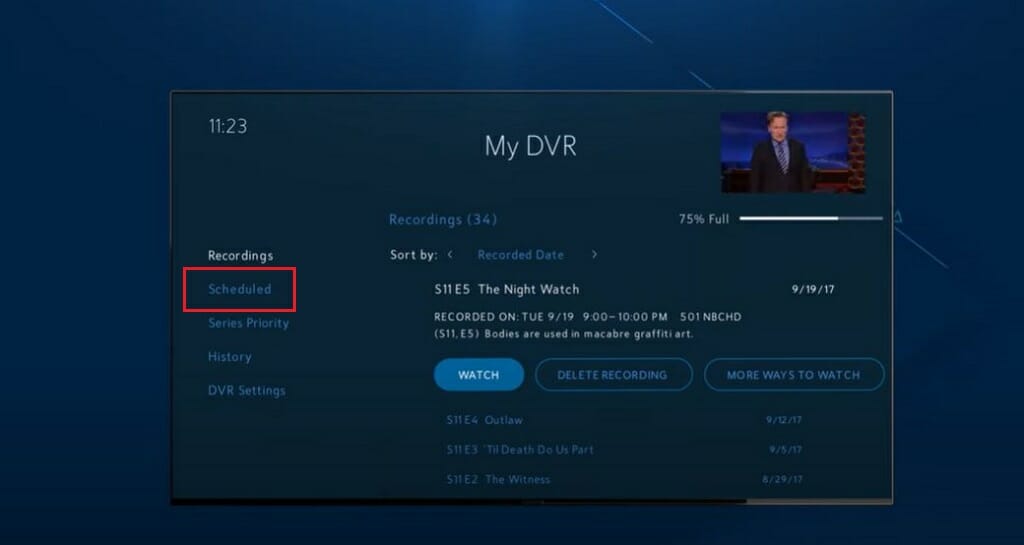
- Press the ‘DVR’ or ‘My DVR’ option on the Spectrum remote.
- Select the ‘Scheduled’ tab on the ‘MY DVR’ screen.
- Select the show that you want to manage.
- Select the ‘Edit Recording’ option.
- Set/Change the scheduled time for recording.
Quick Tip: You can use the ‘Cancel Recording’ option to cancel any show or episode from recording.
What Are the Devices that I Can Watch Spectrum TV?
You can watch Spectrum TV on your Samsung smart TV, Android or iSO. Or you can watch it with Roku, Google Chromecast, and Xbox One.
Take a look at some of our related articles below.
Video References
Justin Lopez Media
Spectrum
