
Interference is still a problem with digital connections these days. Even if you reside in an area with a good signal, bad weather might degrade the strength of your signal. You may notice minor flaws in the monitor or more noticeable indicators that the screen is deteriorating.
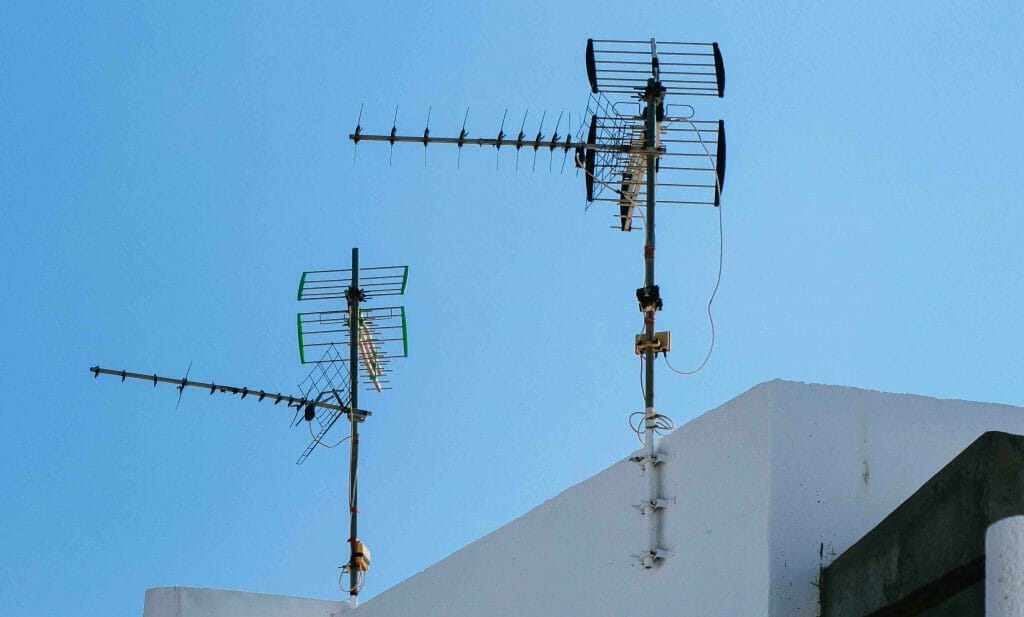
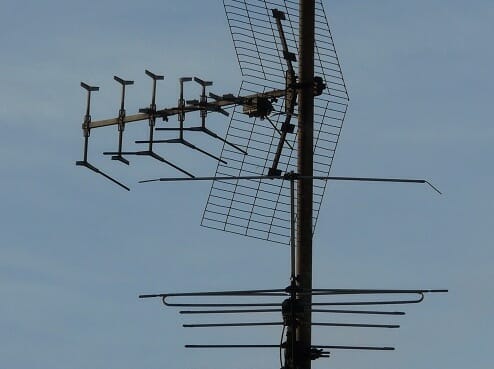
It’s vital to double-check that your local Television tower is delivering you the correct TV signal. Knowing how to test tv antenna signal strength and improve it is a handy skill. This post will look at how to test tv antenna signal strength.
How to Measure the Signal Strength of Your Antenna
A transmitter creates a television signal that transfers data from audio and visual input to an amplifier or repeater, which then sends it to the digital receiver of an A/V device like a television.
It’s vital to double-check that you’re getting a suitable TV signal from your local TV transmitter when you first set up your TV.
NOTE: For these steps, we use a digital tv signal strength meter; these are fairly cheap, going for between $10-40 online; you can find one here.
To ensure the best signal quality, follow these instructions to test tv signal strength and dial in your antenna:
Step #1: Unplug The Rg6 Coaxial Cable From Your Tv Or Tuner
Unplug the RG6 coaxial cable from the antenna on your tv or tuner. The goal is to connect your test antenna signal strength meter to your television set or tuner. This will allow your antenna signal to flow through the measurement tool, allowing you to determine the best antenna direction for a specific channel.
Step #2: Attach The “F” Connector Or “Rg6” Connector
Plug the antenna’s “F” connector, or more often, the “RG6” connector, into the “Antenna” socket on your antenna signal meter. Ensure that it is the cable that connects to your antenna.
Step #3: Link Your Television or Tuner To The “Tv” Connector On Your Antenna Signal Meter
Link your television or tuner to the “TV” connection on the antenna signal meter. This completes the in-line connectivity between your antenna, TV Signal Meter, and screen.
Step #4: Enable The Antenna Signal Meter
Switch on your antenna signal meter and tune in to the lowest broadcast channel available in your location. Our tests to improve signal strength will begin with this as a starting point.
Step #5: Gently Rotate Your Antenna 360 Degrees And Stop When The Antenna Signal Strenght Meter Reaches Its Maximum
Gently rotate your antenna 360 degrees, and stop when the antenna signal strength reaches its maximum. The green LEDs on the majority of TV Signal Meters will indicate this. The stronger the incoming signal is, the more LEDs you have to light up.
Step #6: Determine The Direction Of The Highest Signal With A Compass And Record The Result
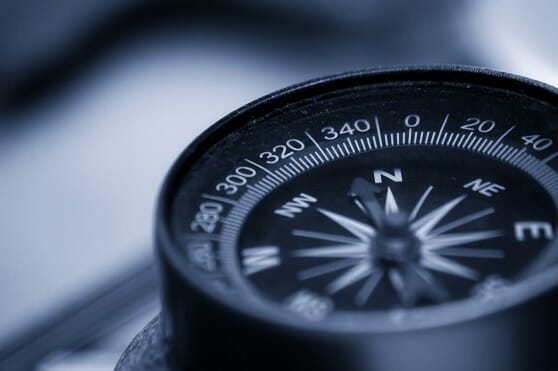
Analyze the position of the highest antenna signal with a compass and record the result. If you don’t have a compass, you can get one for a reasonable price online. (1)
Step #7: Repeat The Same Process As Steps 4 And 5 For Each Channel
Carry on in the same manner as steps 4 and 5 for each channel, and document the results. Now it’s time to go onto another channel and repeat steps #4 and #5. Tune in to the channel and note the direction of the channel’s most substantial signal level.
Step #8: Compute An Average Of Your Compass Measurements To Improve Signal Strength
If you don’t have a rotor, use your compass data to compute an average for excellent signal strength and position your antenna in that position. Compile a list of ideal directions for each channel if you have a rotor. The TV Signal Meter is used as a signal strength meter and antenna signal debugging equipment.
HDTV Antenna Signal
An HDTV antenna signal is a radio frequency with a noise margin of NM(dB) and an average power of Pwr in decibels-milliwatts (dBm). The first reading, NM(dB), indicates how “clean” the signal is, while the second indicates how “potent” it is.
Today’s electronic transmissions are broadcast in the UHF band (Ultra High Frequency), which ranges from 300 megahertz (MHz) to 3 gigahertz (GHz) (GHz). The VHF band, or “Very High Frequency,” is another frequency that is much less commonly used for digital over-the-air broadcasting. This band runs in the 136-174 MHz frequency range—the most common VHF channels are 2 to 13, and UHF channels 14 to 51.
The technical broadcast frequency of a channel is not necessarily the same as the channel you see on your monitor. Take a look at the channel mapping for channel 6 in Richmond, Virginia, for example.
The “Virtual Channel” is channel 6, but the “Digital Broadcast Channel” is channel 25. Because most digital feeds use the UHF band, practically, manufacturers tune any current HDTV antenna you buy to this frequency. Some will be able to operate on both the UHF and VHF frequencies.
Things to Remember When Buying an HDTV Antenna Signal
If you’re looking for a new HDTV antenna, here are a few pointers to help you limit your options:
- Ascertain if the antenna can receive Full HD 1080p digital broadcasts.
- Ensure the antenna can receive digital broadcast signals from 50 miles or more.
- Choose a UHF antenna or one that can operate in UHF and VHF bands.
Why are Cabling and Connectors Important?
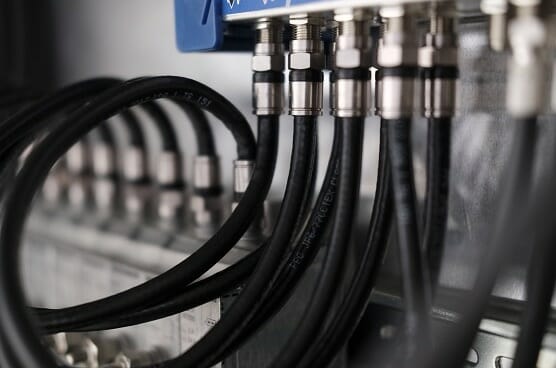
Many often disregard the coaxial cabling and connection types utilized in every antenna installation. If these two basic components of your test antenna signal strength in your installation are neglected, the performance of your antenna signal may be badly harmed.
There are wide varieties of coaxial cables and connectors on the market today. The type of coaxial cable and connector you purchase will significantly impact how much signal loss you may expect across a certain length of wire.
Things to Remember When Buying Cables
When purchasing cables and connectors, you should get high-quality products. The quality of your system will affect how well it functions. The following are characteristics of good cabling:
Noise Attenuation or The Capability To Pick Out Noise
If you have other home devices, such as motors or generators, that produce EMI/RFI (which is noise), you’ll need cabling to handle it. A suitable cable, for example, should contain metal shielding beneath the cable jacket to block noise. Other fixtures should have safety features as well.
Durability
The cabling and its attachments should be durable enough to survive extreme weather. They should last for a long time before you need to replace them. Overall, quality cabling should be dependable, so you don’t have to be on the lookout for issues all of the time. (2)
Why Use an RG6 Connector?

There are several varieties, or grades, of “RG” cable on the market. The letter “RG” means “Radio Guide,” referring to or denoting the cable’s capability. RG-6 is undoubtedly the most popular and commonly utilized RG cable on the market for any cable, satellite, or entertainment system.
We’ll focus on the numerous types of RG-6 wire you’re likely to encounter because it’s the most commonly used and suggested cable for over-the-air antenna installations. RG-6 is a larger gauge than its predecessor, RG-59, and is optimized for heavy, high-frequency operations. Many homeowners use it in older cable systems.
The optimum fittings should reduce noise so that the image quality is unblemished. RG6 cable has shown to be reliable in such applications, and a quad-shielded RG6 cable provides further protection against interference over extended distances.
You may check other learning guides below;
- What is the best TV antenna signal booster
- How to boost an outdoor TV antenna signal
- How to record TV shows from an antenna
References
(1) compass – https://www.nationalgeographic.org/encyclopedia/compass/
(2) extreme weather – https://www.nationalgeographic.org/activity/extreme-weather-on-earth/
